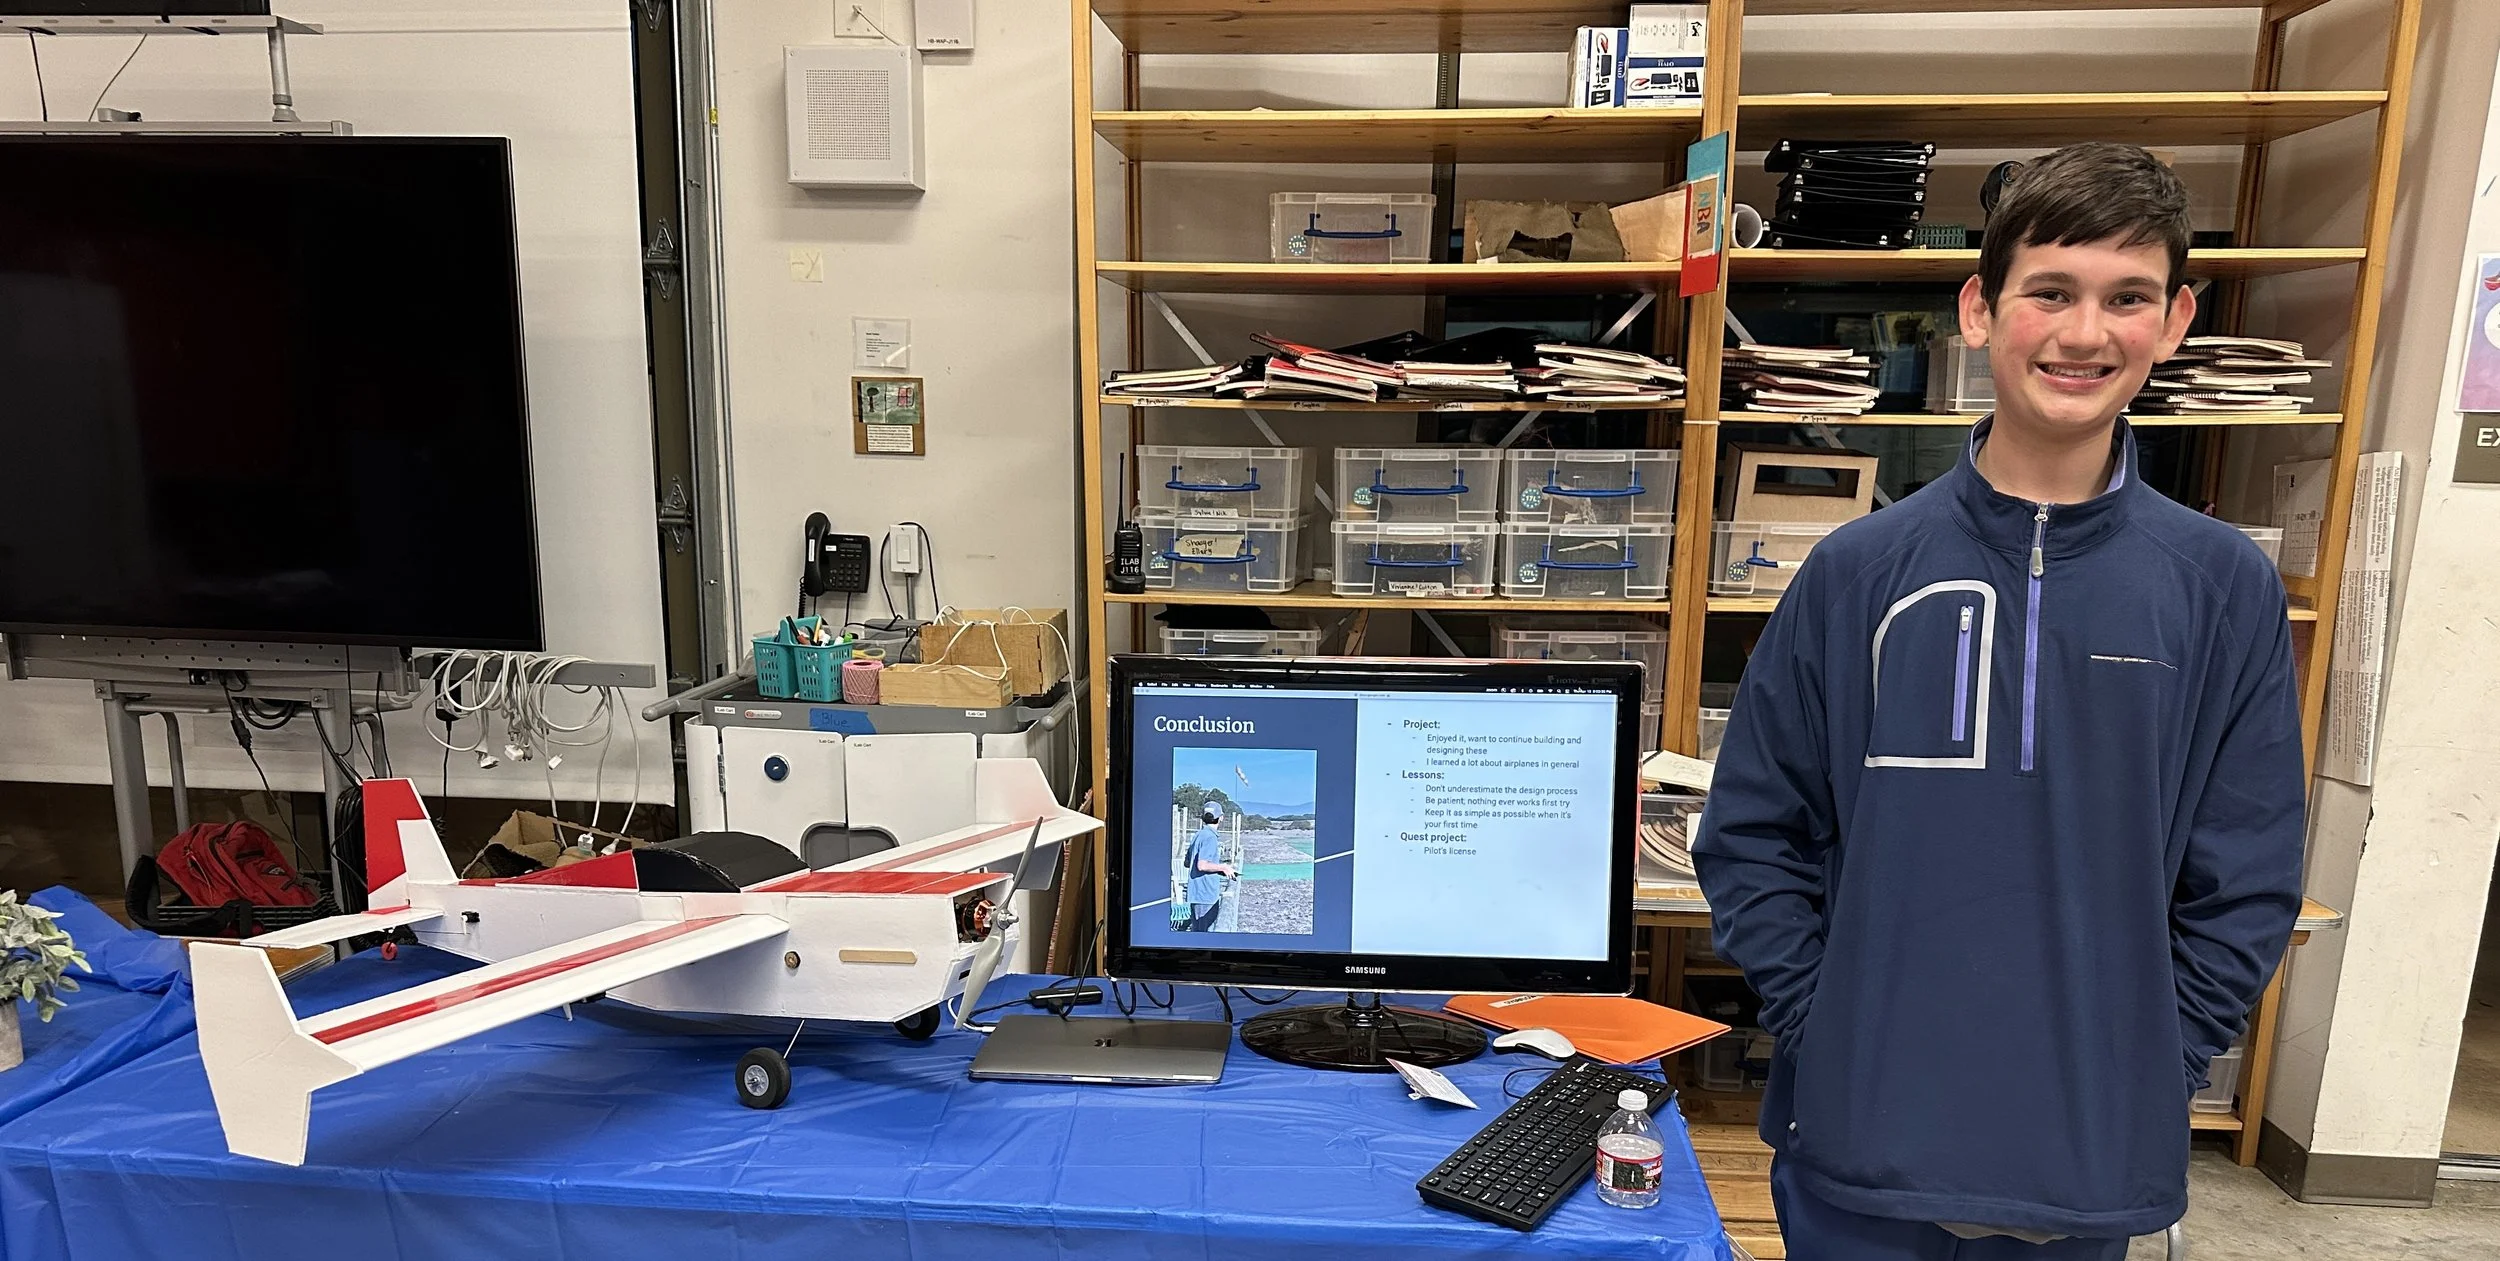
Model Airplanes
June 2022–April 2023
This project was my first large-scale engineering endeavor, and it deepened my love of making and tinkering while introducing me to aerospace engineering. It began with my fascination with airplanes. I was only in middle school at the time of this project, and while I wanted my pilot’s license, I had to wait until I was 16 to embark on that journey. In the meantime, I turned to radio-controlled (RC) aviation as a way to experience flight and the aerospace design process. This project helped me practice the iterative design process, which I have applied to all of my subsequent engineering projects.
If you are interested in building this model airplane yourself, just email me, and I will send you the templates for the fuselage and wings of the plane, a list of the electronics, and a list of other parts needed.
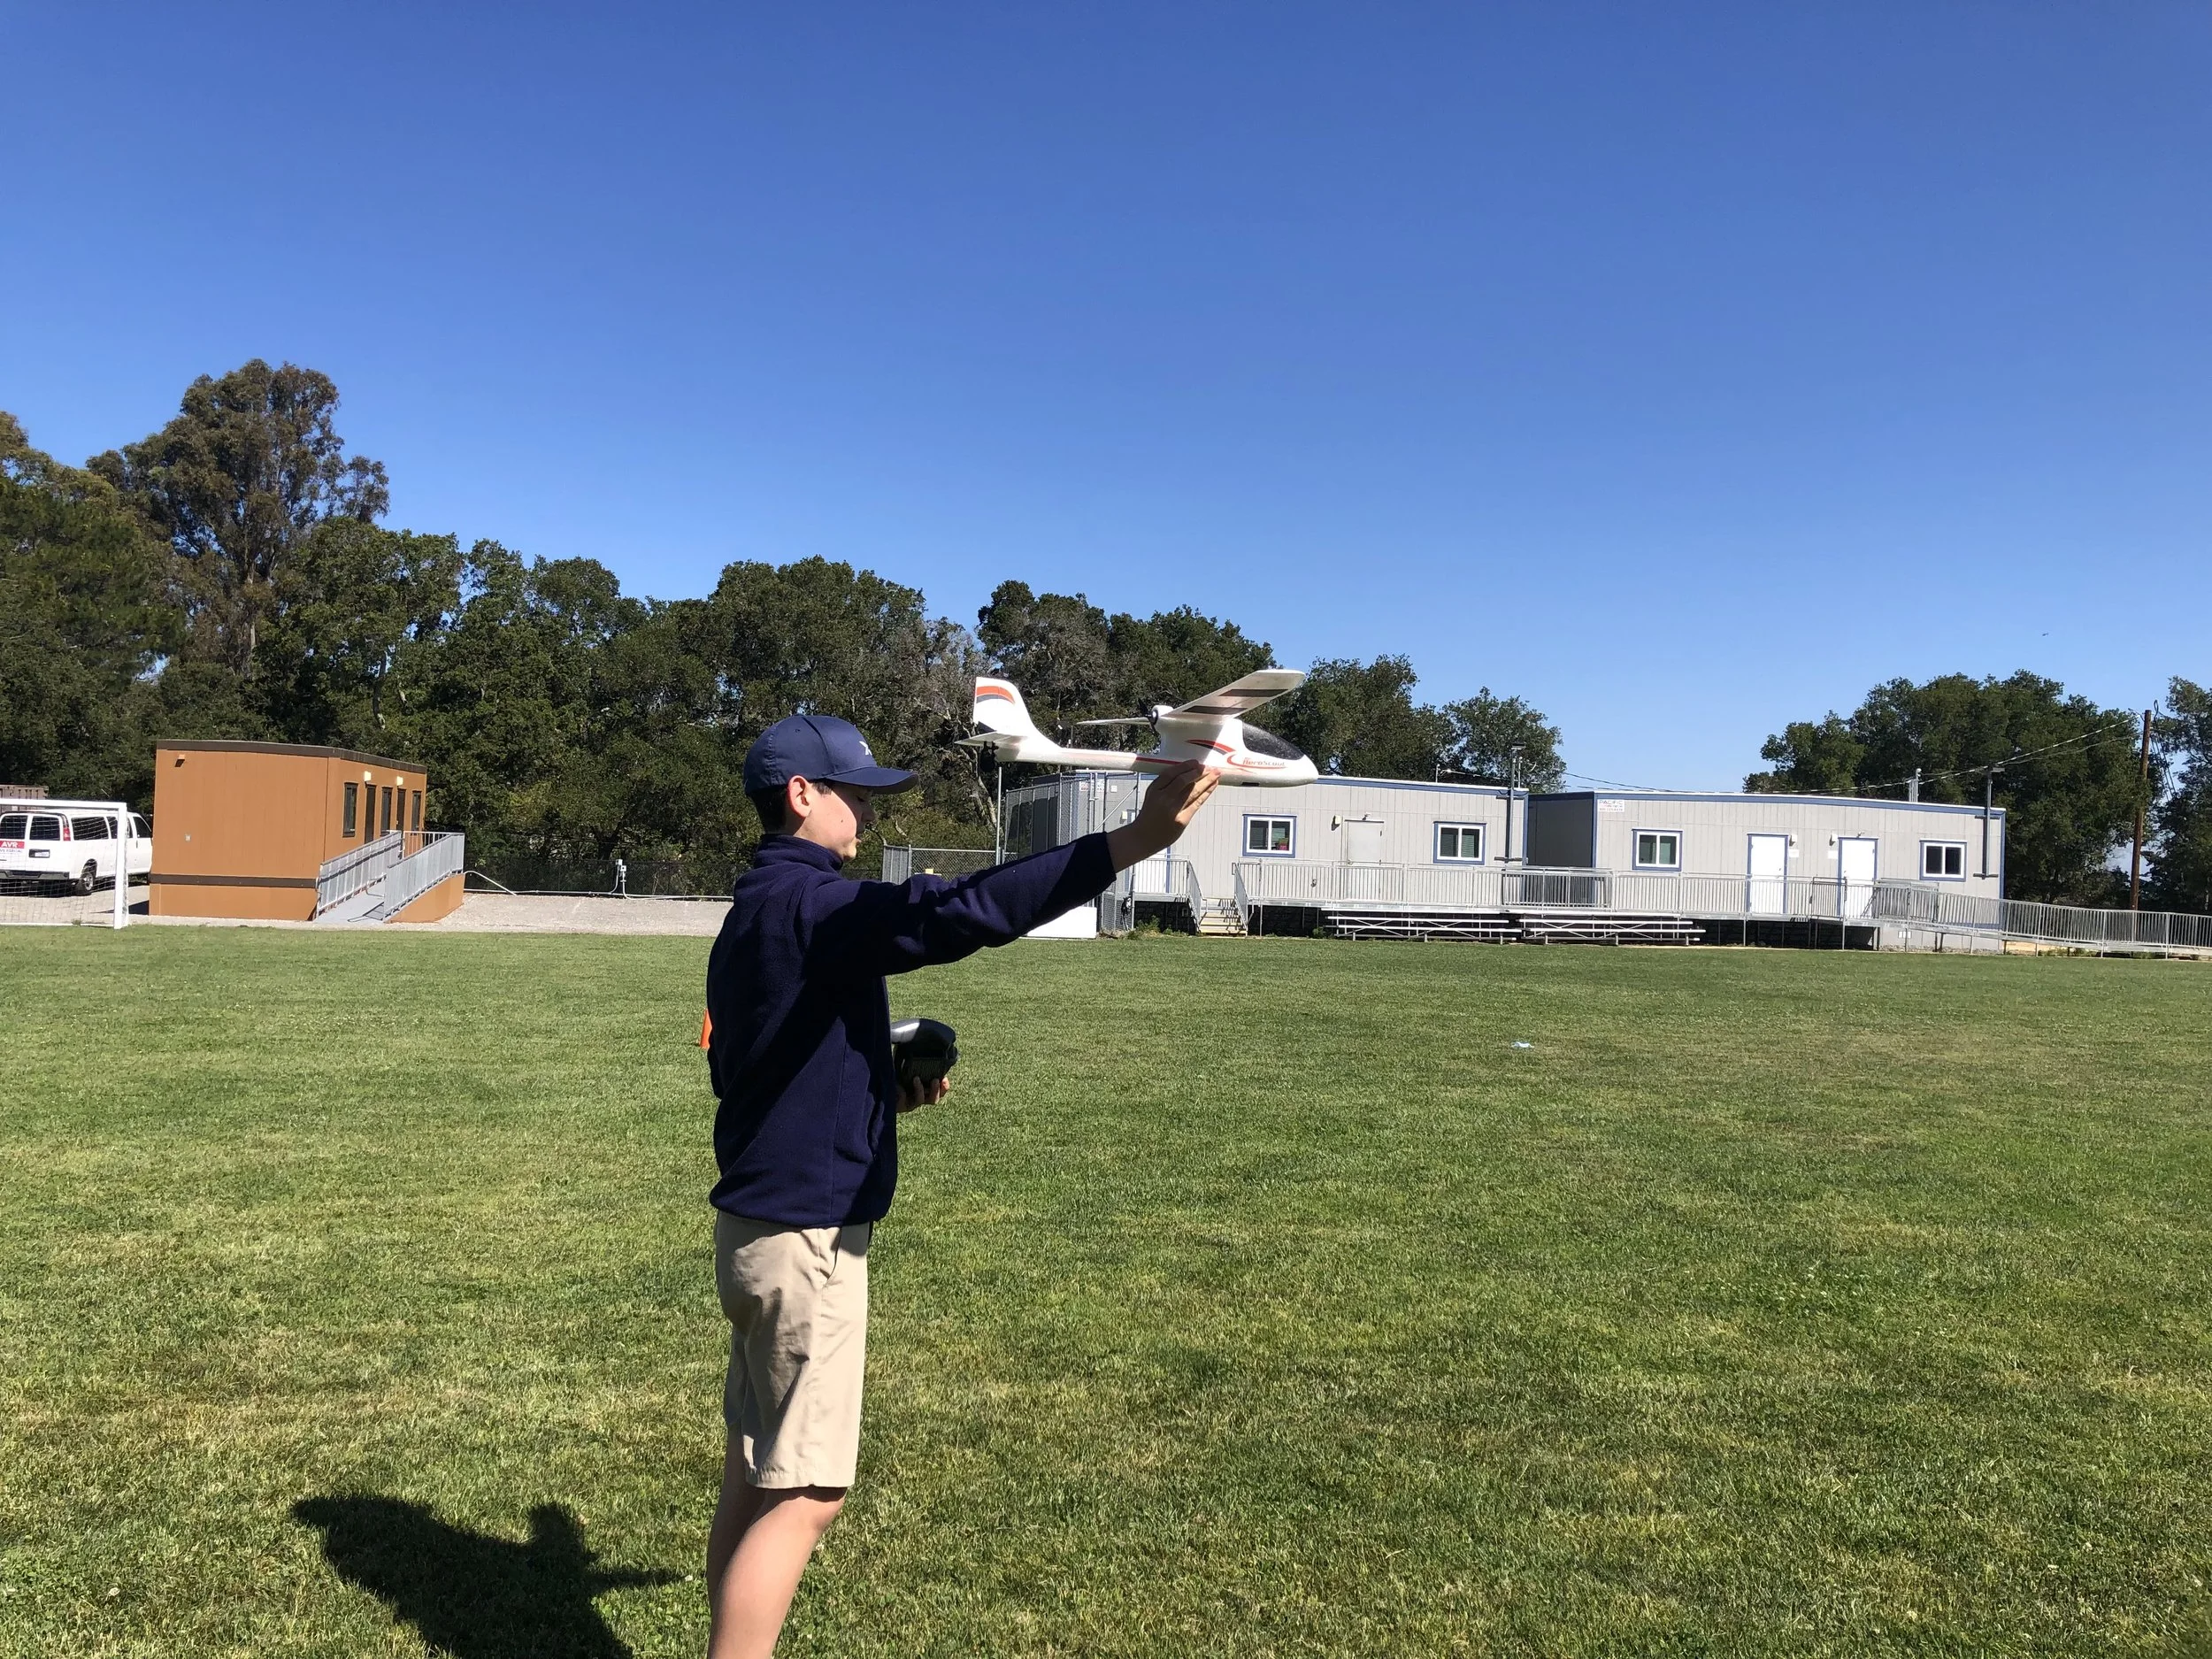
My very first RC airplane was a Mini AeroScout. The Mini AeroScout has a 770 mm wingspan. It was small enough to fly safely at the soccer fields in my neighborhood. I learned to fly this plane by crashing: many of my first flights ended up in nosedives. Thankfully, this aircraft is a simple three-channel airplane, so it was easy to learn to fly. With three channels, I could control only the throttle, elevator, and rudder. After several weeks of practice, I found that with a little more throttle and some more confidence, I was able to keep the airplane in the air longer and in a controlled flight pattern.
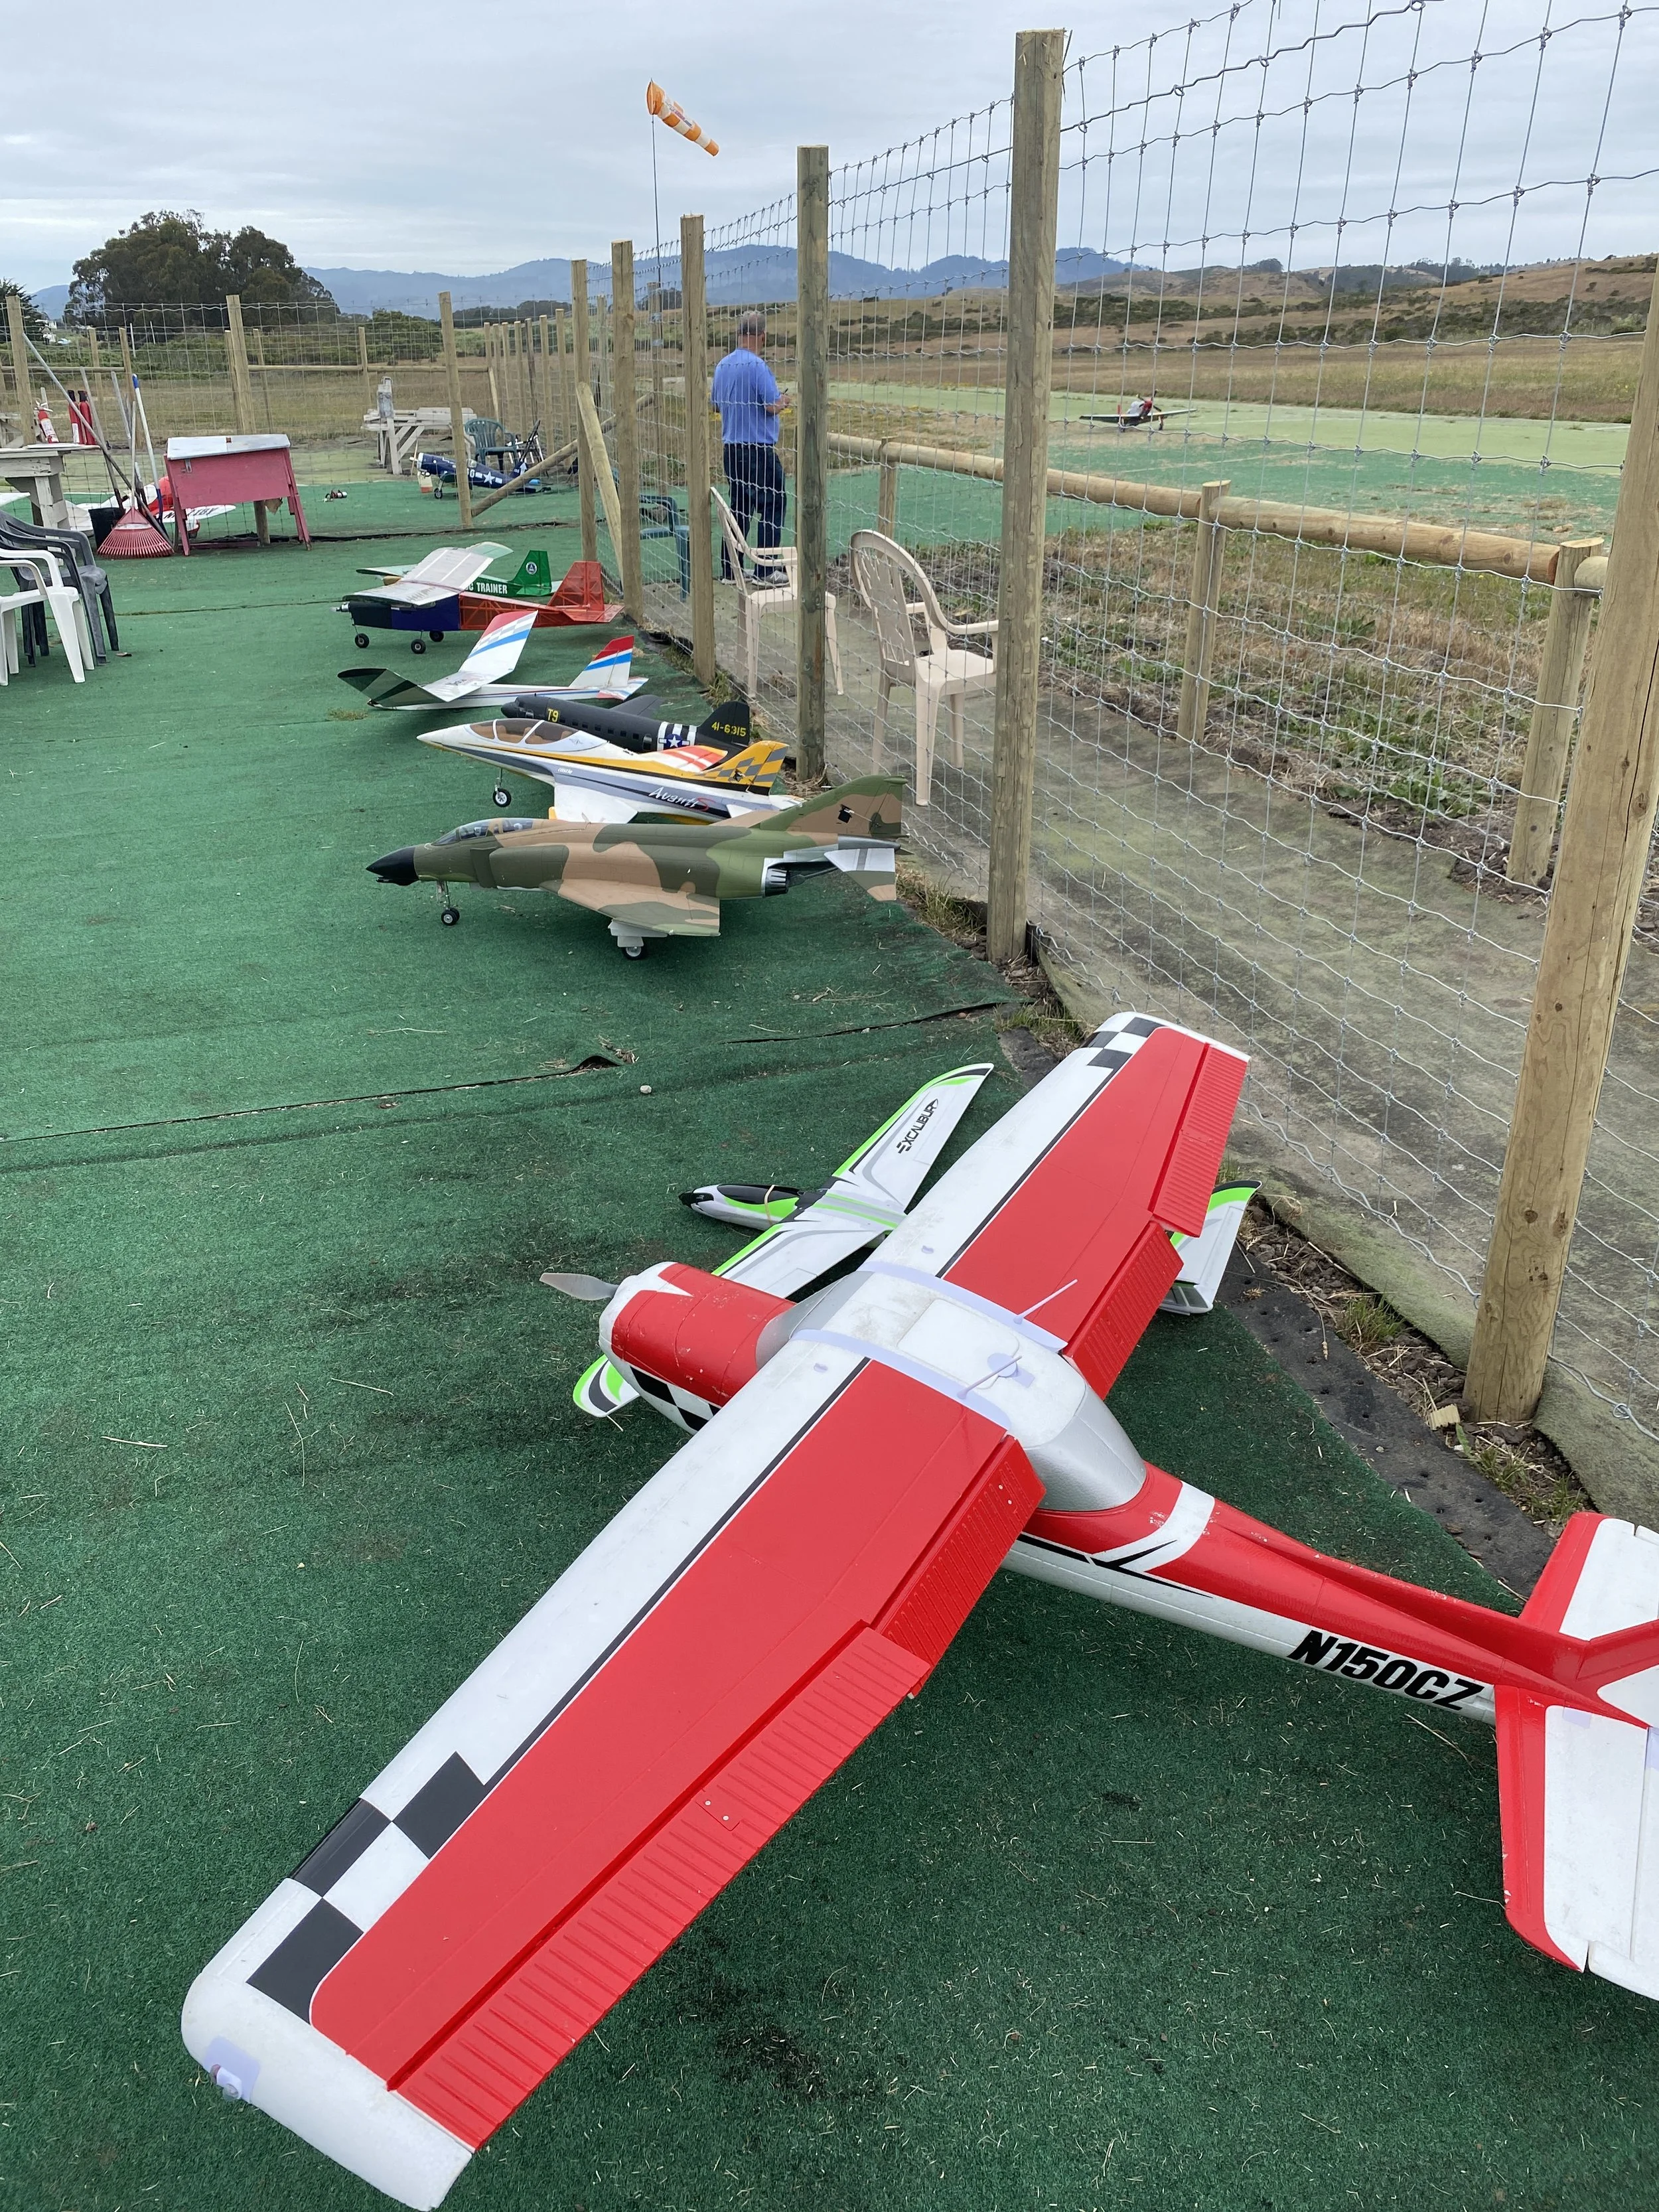
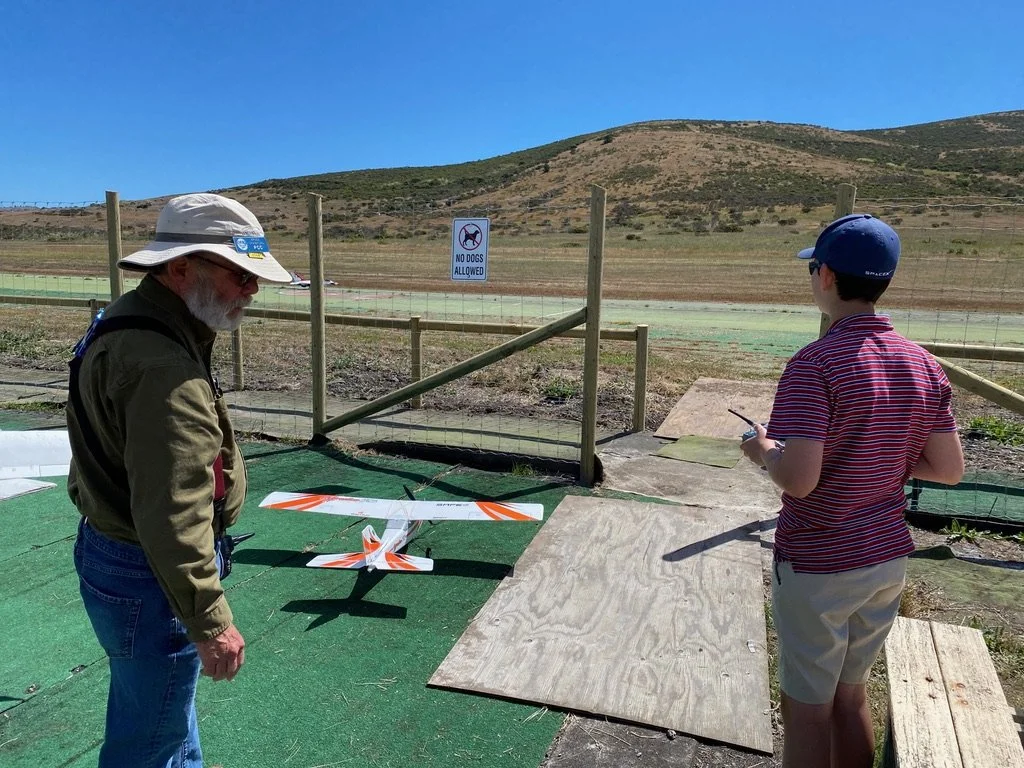
Space was limited at the school soccer field, and my dad remembered that a family friend used to fly at the Peninsula Channel Commanders (PCC) RC Club in Half Moon Bay. Flying clubs sanctioned by the Academy of Model Aeronautics (AMA) are dedicated solely to RC flight. The PCC airfield has an artificial-grass runway, with a proper flight line, battery chargers, and tables for working on aircraft. For safety and insurance reasons, people generally fly aircraft with wingspans of 5 feet or more only at AMA flying fields, rather than in local parks.
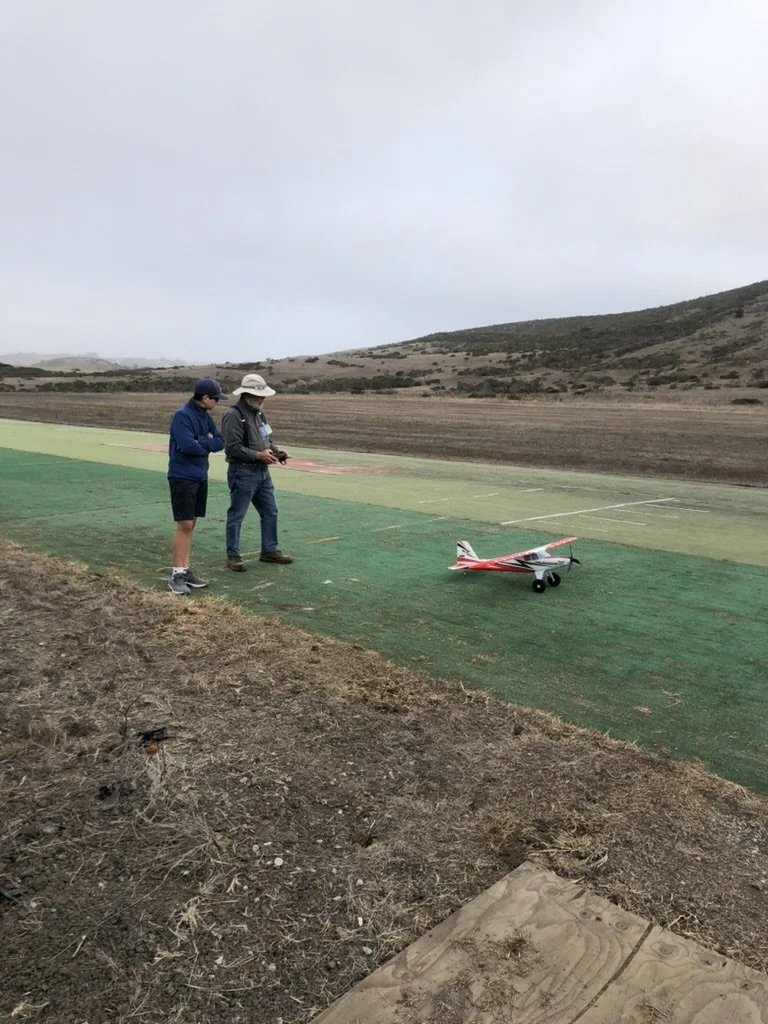
On my first visit, I met with the club’s vice president, Bruce, to learn how to fly more advanced aircraft. I flew his aircraft, using a “buddy-box” system, to give me space for mistakes. “Buddy-boxing” allowed me to control the aircraft on my own, with a signal passing from my radio transmitter through Bruce’s radio transmitter. This meant that, at any time, Bruce could terminate my connection to the aircraft and take over. This proved effective because I could adjust to flying with full four-channel control (rudder, elevator, ailerons, and throttle) without worrying about landing right away.
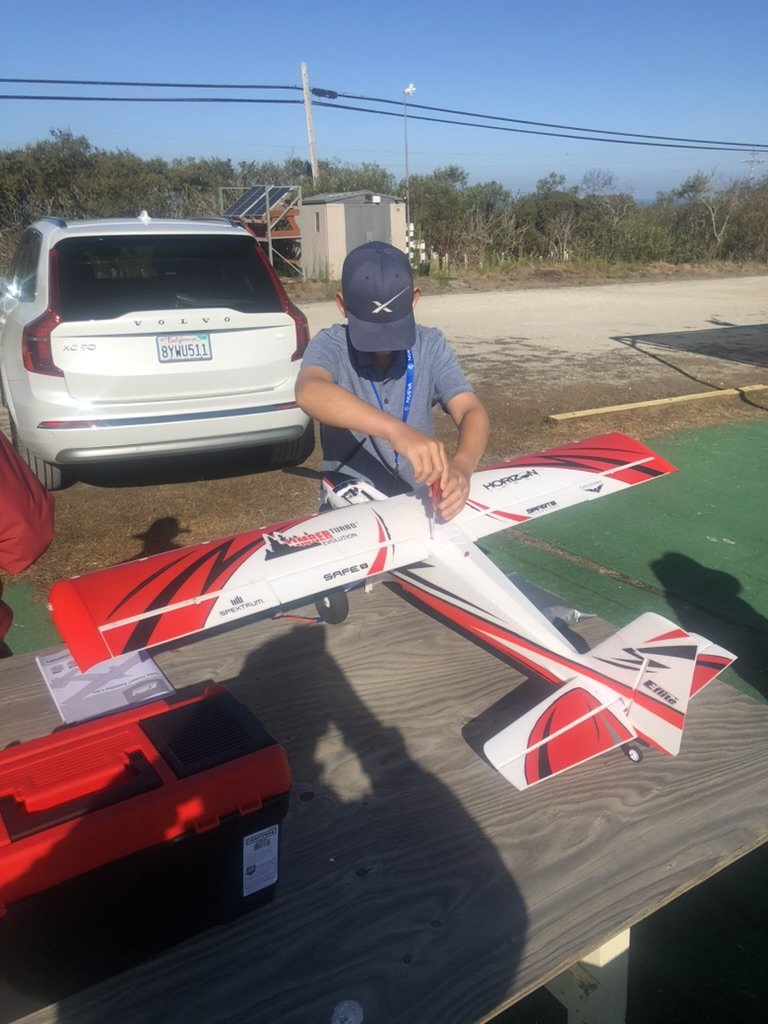
I soon got my own aircraft to practice flying solo. I chose a mid-power three-cell bush-plane-style aircraft called the Turbo Timber Evolution. The Turbo Timber Evolution is large enough to resist minor wind gusts and provide an aerobatic platform with room for growth. With this plane, I was able to start with simple practice loops and rolls before attempting more advanced maneuvers like hammerhead turns and tailslides.
I also learned the importance of planning ahead before I made the trek to the field. I learned to watch the weather patterns carefully to avoid flying in excessive gusts. I continue to practice this type of planned approach with my rocketry project: I always check the weather conditions before I launch.
As I learned from a fellow club member who had been flying for years, “takeoff is optional; landing is not.”
I spent a lot of time with the plane just practicing landings. The Turbo Timber Evolution is a “taildragger” aircraft. Its landing gear consists of two main wheels at the front and a small tail wheel at the rear, which is steered by the rudder. This design requires the pilot to land the plane on the two main wheels first and then balance on those two wheels as the tail wheel touches down.
In the video on the top right, you can see one of my practice landings at the PCC flying field. Learning to land is quite difficult because the controls are very sensitive. Often, I would cut power just a foot or two too high, which would cause the plane to bounce off the runway. The video on the bottom right shows a better landing, in which I managed to avoid the bounces. It took many attempts, and sometimes I spent entire flights practicing landings.
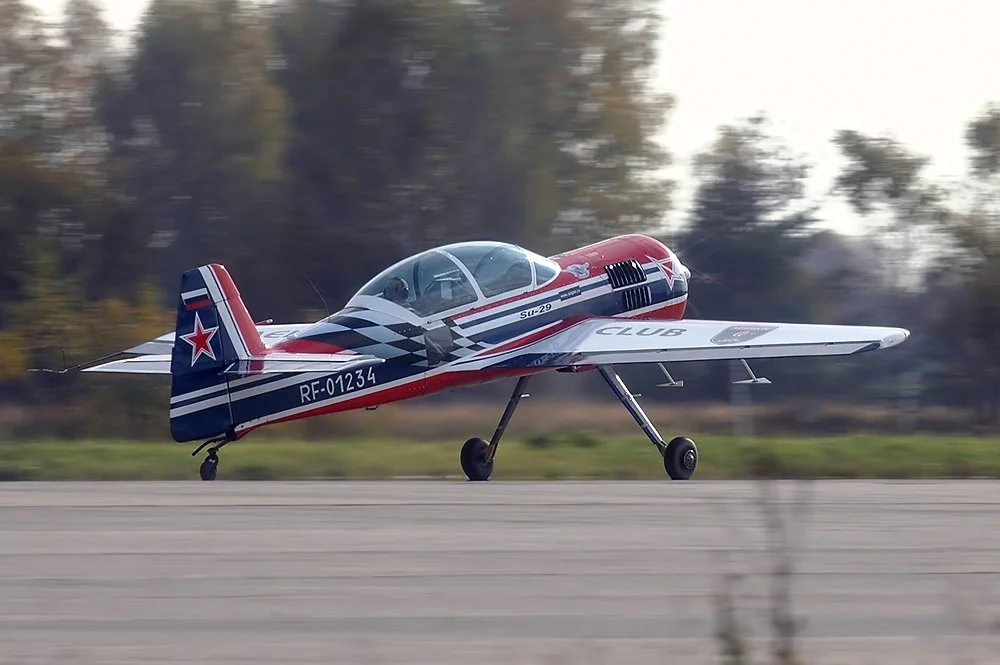
Credit: Wikipedia
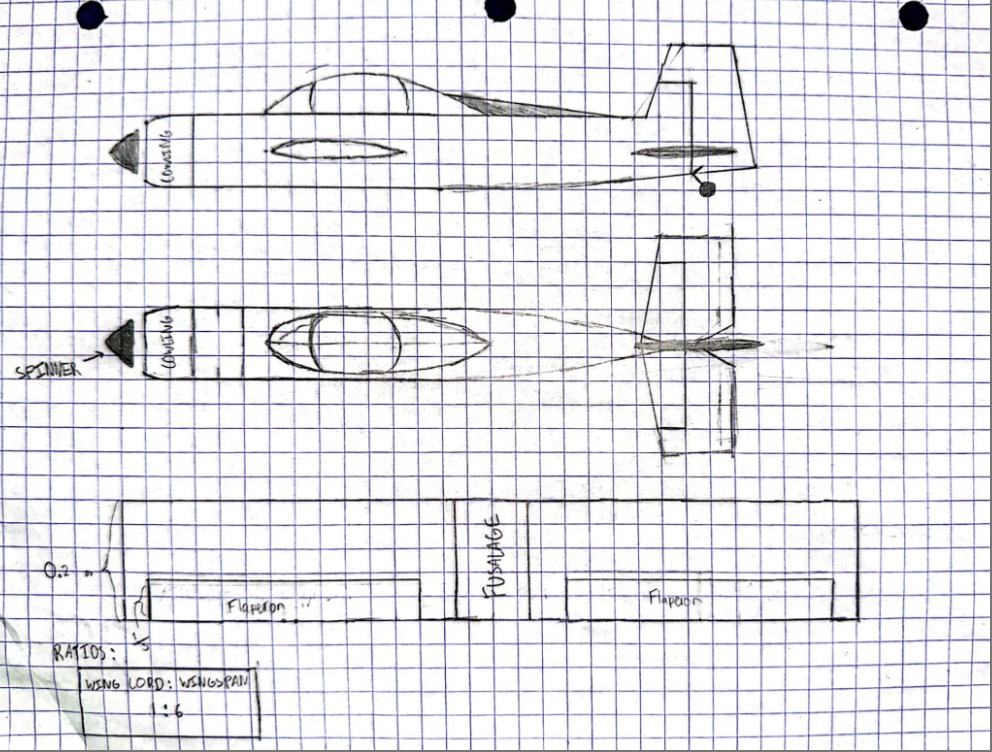
Once I learned to fly, I decided I wanted to custom-design and build a plane myself. As a first step in the design process, I began sketching out basic designs on graph paper to get a rough understanding of what this plane might look like. It was loosely based on the Sukhoi Su-29 because I wanted the plane to be agile, maneuverable, and aerobatic. My design included a few technical decisions to aid in aerobatic performance. First, I sized my servos and electronic speed controller to work for a 4S lithium-ion polymer (LiPo) battery, which is more powerful than a standard 3S LiPo battery. Second, the aircraft used a symmetric NACA 0015 airfoil. Symmetric airfoils generate the same lift upside down or right side up, so their performance in inverted flight is ideal. Finally, the ailerons, elevator, and rudder were large and had high deflection. This meant that they could deflect a substantial amount of air, which enabled quick aircraft movements.
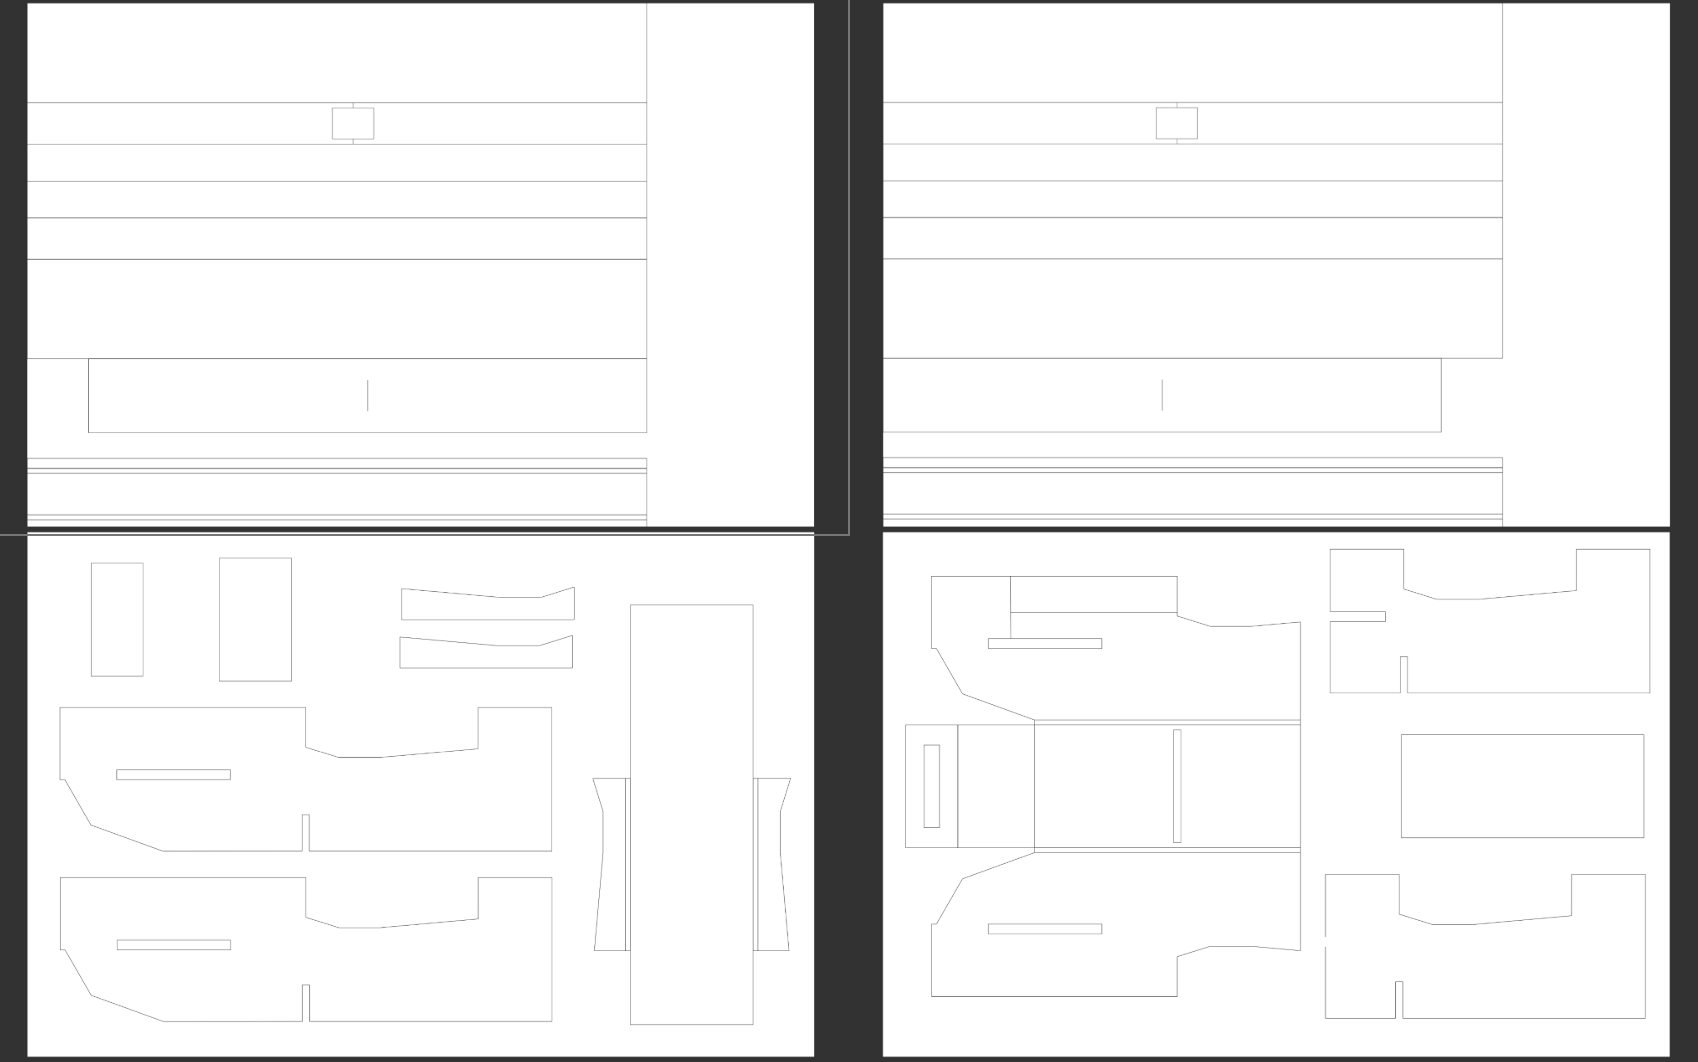
The two options for building materials were foam board and hot glue, or balsa wood and wood glue. John, my mentor for the airplane design phase, recommended that I use foam board because it is much easier to work with than balsa. To the right, you can see a sample of my design files for the aircraft. Most were designed in Adobe Illustrator. I printed them at my local FedEx on 20-by-30-inch paper, which was the exact size of my foam-board sheets. I cut each part out with an X-Acto knife and used hot glue to secure all folded joints in place.
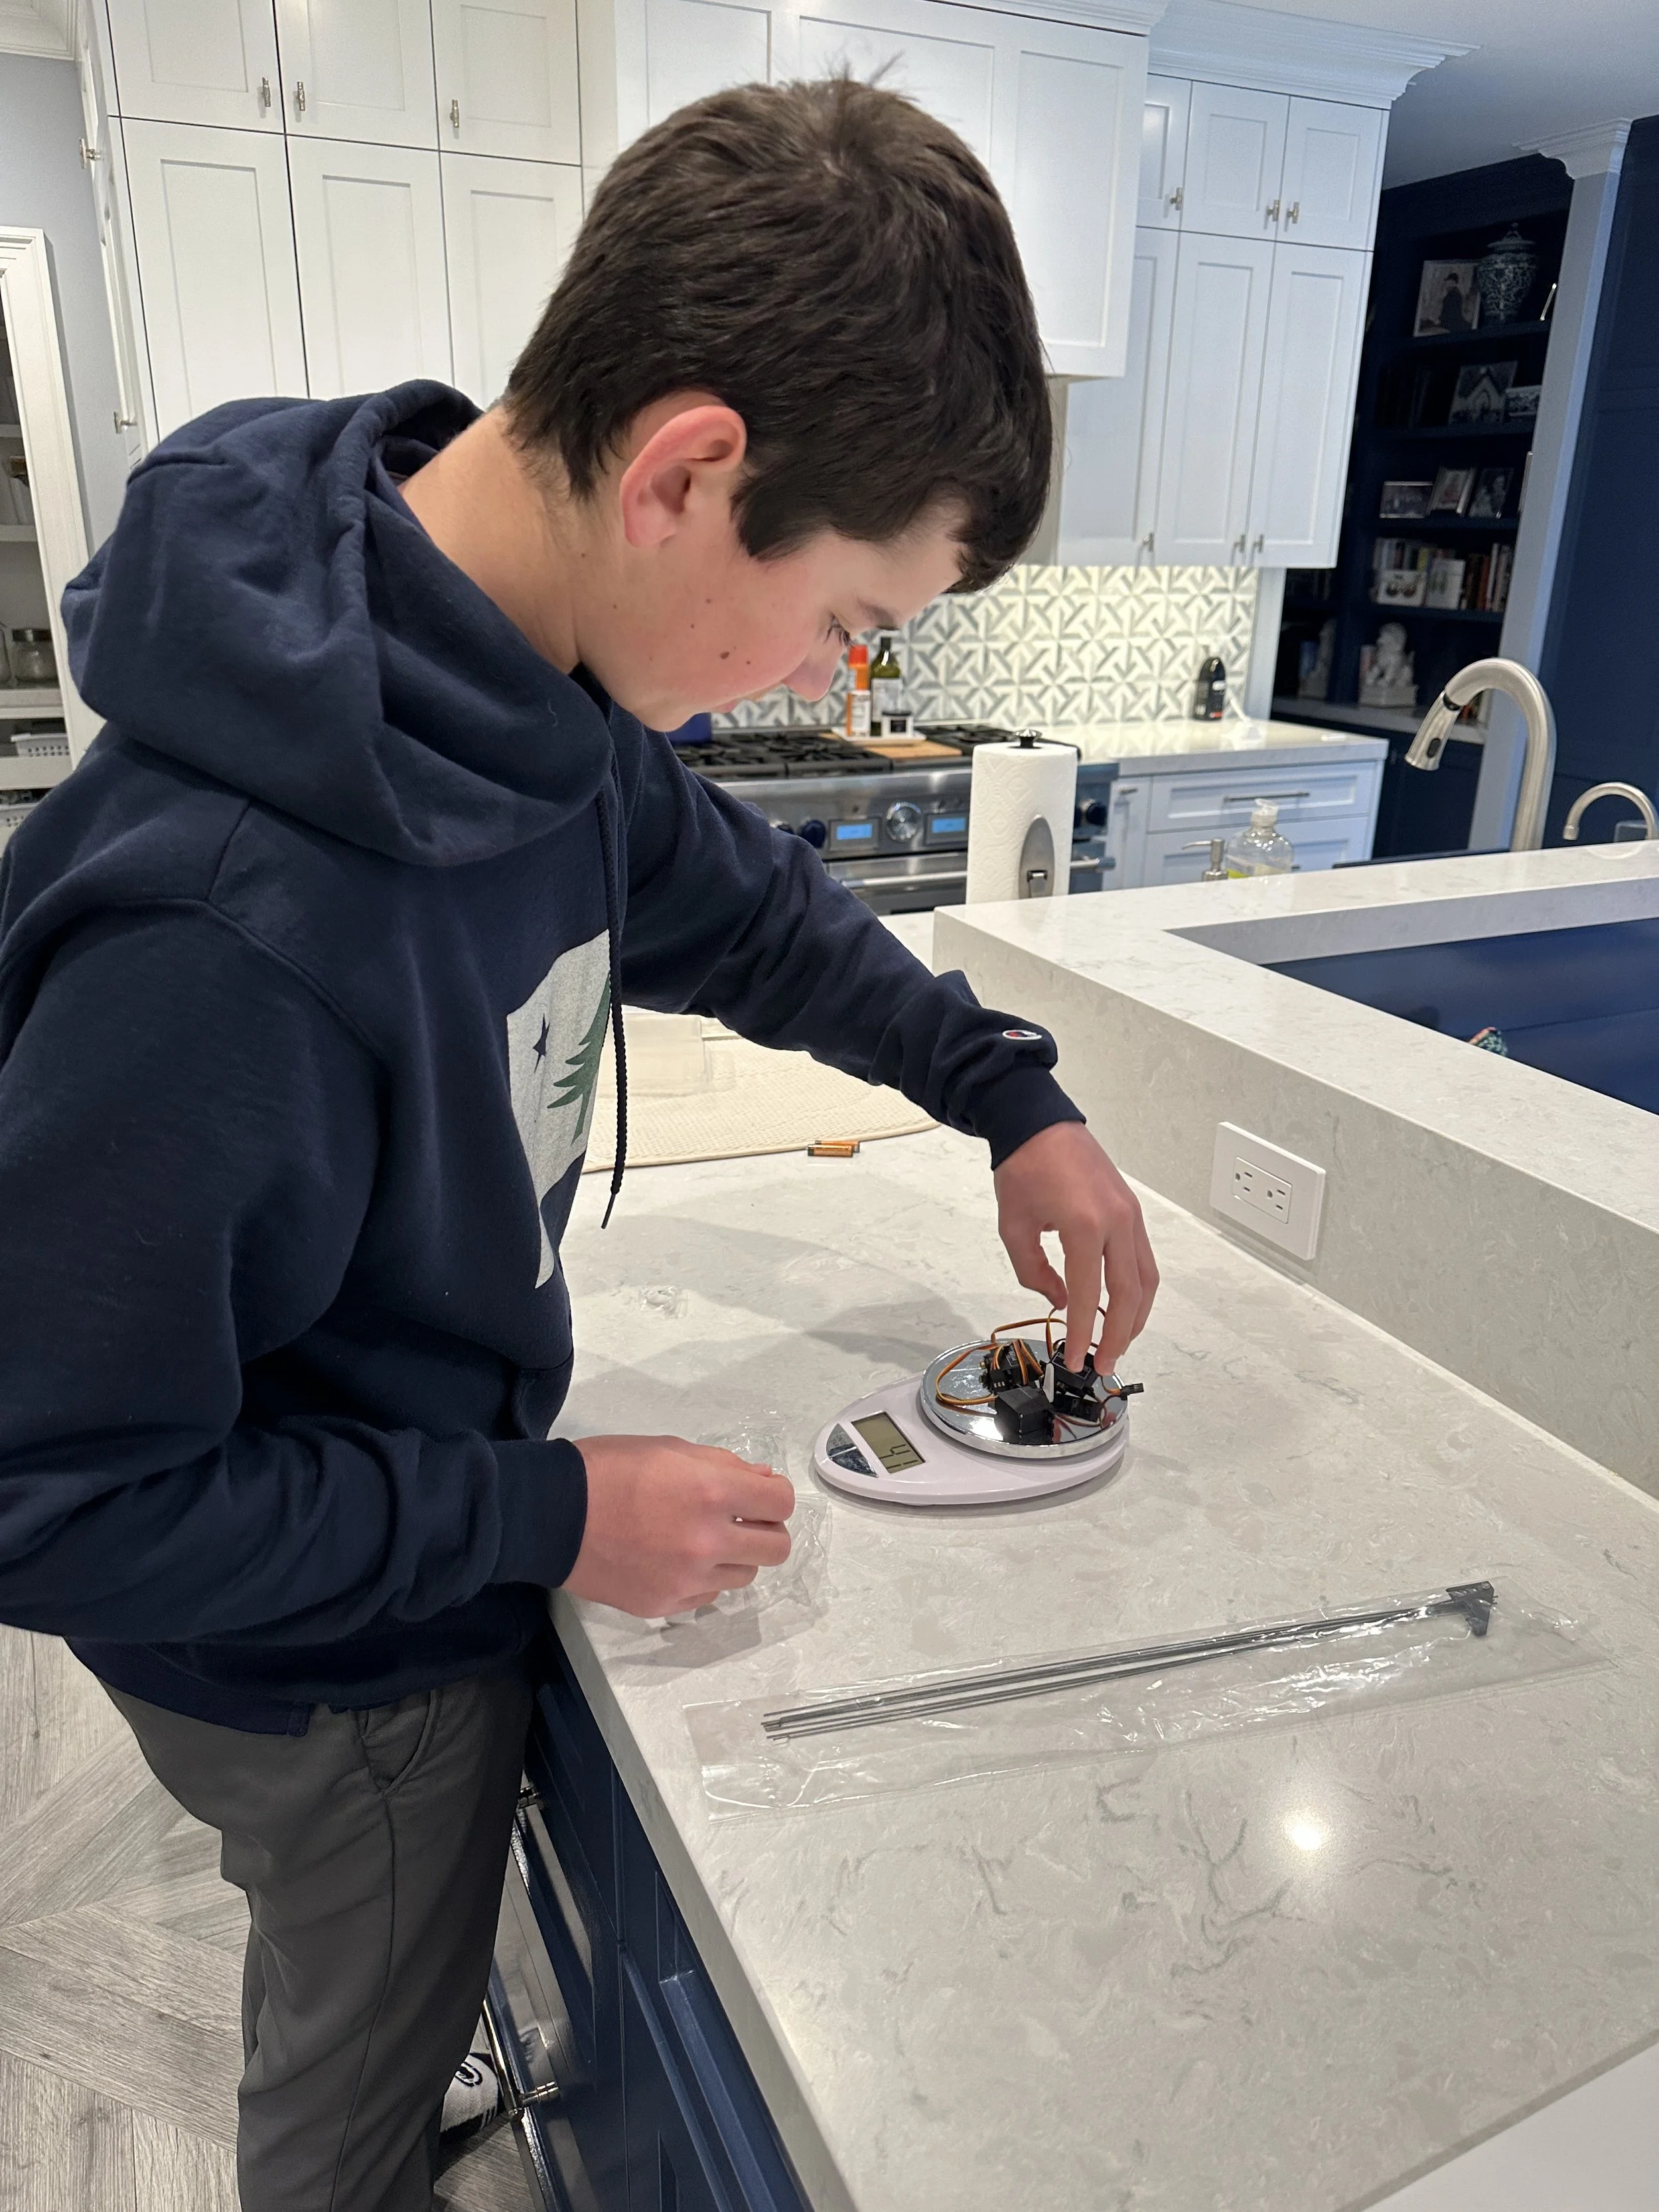
I also needed a motor, an electronic speed controller, a receiver, and servos. I weighed each component and all building materials to ensure that the plane’s total weight stayed below the maximum my motor-propeller combination could handle. I also selected larger servos so that my airplane could comfortably maneuver with larger control surfaces.
Certain parts, particularly those related to the landing gear, were 3D-printed. Other parts, such as the motor mount, were laser-cut out of wood. The motor mount presented a unique engineering challenge. It needed to be adjustable because the motor needed to point off-axis slightly to counteract the torque produced by the propeller. I used washers, stacked behind the motor mount, to adjust this angle easily.
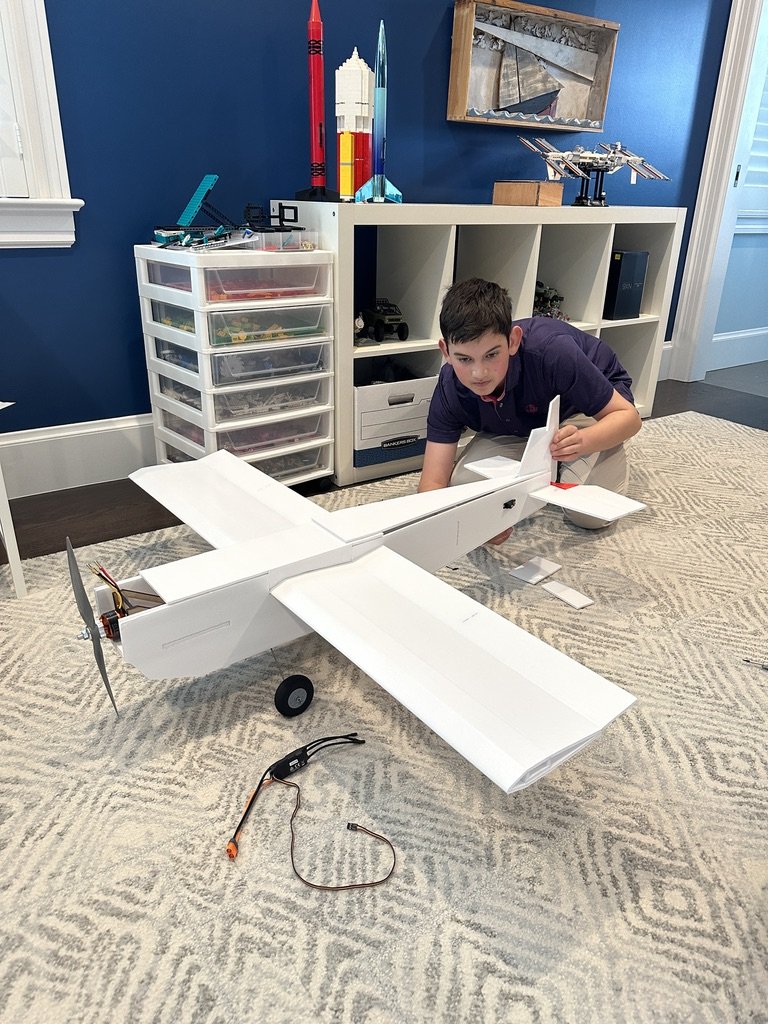
After months of planning and designing, it was time to build the plane. To the right are photos of the construction process. With foam board as the main material, the construction process went quickly, and it was easy to recover from any mistakes. For example, my first wing was twisted and misaligned. After I practiced my wing-folding techniques, my second wing came out much straighter.
I designed the wings to separate so that I could easily fit the finished plane in my mom’s car. The wings were attached to the aircraft with high-tension rubber bands to support the in-flight lift forces, a simple yet effective design solution to the transportation challenge.
I added side force generators (SFGs) on the ends of the main wing to catch more air, which I learned could help in a maneuver called a knife-edge. In knife-edge flight, an aircraft flies tilted sideways, with lift produced by the SFGs, the rudder, and the fuselage, and with help from the propeller’s thrust.
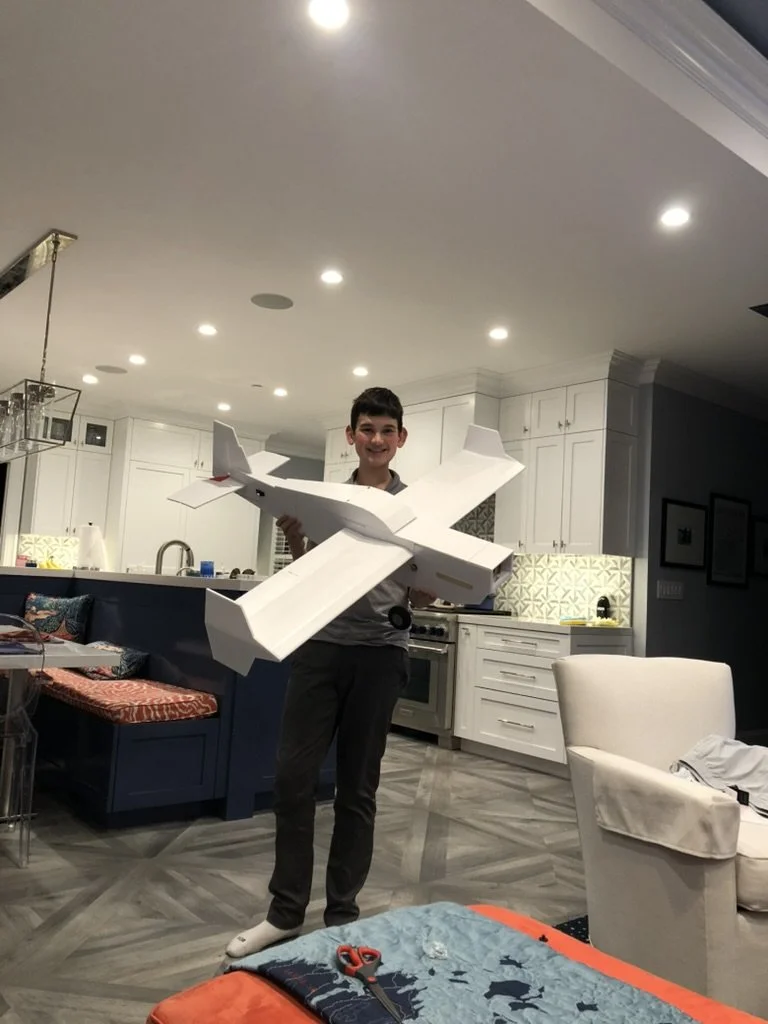
Finally, it was time to fly my plane. The video on the top left captures the maiden flight. The video on the bottom left shows my second flight. My design proved to be as maneuverable as I expected, and I was pleased that I had a successful first flight and landing. However, after the first day of flight, I noticed the rudder had developed a crease and had been damaged. I suspect that the rudder began to fold under high control inputs, given that it was made of only one layer of foam board. The next time I build an RC plane, I plan to run computational fluid dynamics (CFD) analysis and build a high-speed aircraft out of more advanced materials such as composites, with the aid of 3D-printed molds.